Taking good progress photos
You've been eating well, staying active, and sticking to your routine — then the scale doesn't move the way you hoped. Before you get discouraged, remember the scale only measures total body weight. It can't tell whether you've lost fat, gained muscle, or are simply holding water.
Because you see yourself every day, physical changes are easy to overlook. Progress photos give you a more accurate — and more motivating — way to track your transformation. Looking back at photos from the start of your journey often reveals improvements the scale never shows.
The catch: photos only work if they're consistent. Follow these eight tips and every shot will be easy to compare with the last.
8 tips for better progress photos
Choose clothing that shows your shape
Loose-fitting clothes hide changes in your body. Wear fitted workout gear that lets you clearly see your physique, and keep your midsection visible — that's where body-composition changes show up first.
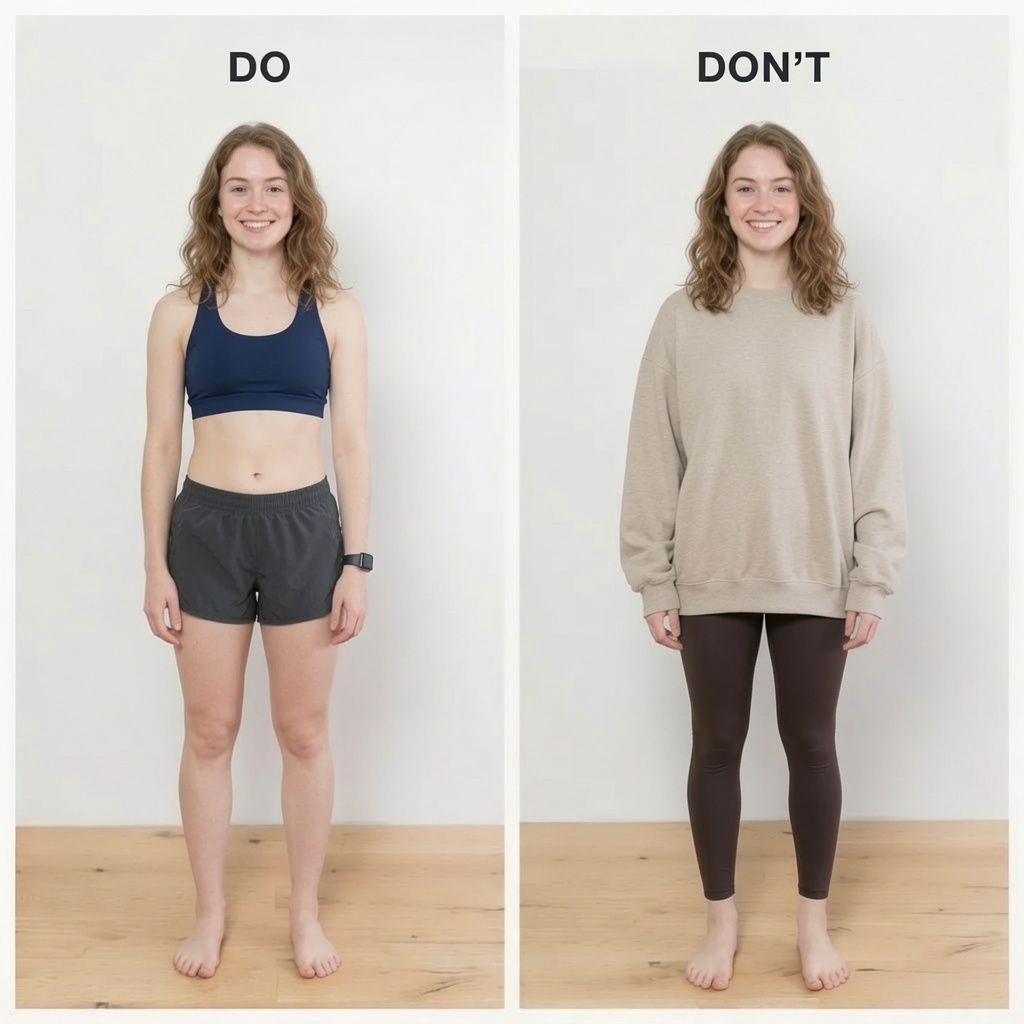

Be consistent with your outfit
Wear the same clothing for every photo session. If that's not possible, pick something very similar. Consistency is what makes comparisons accurate over time.
Keep the background simple
Use a plain, uncluttered background whenever you can. Avoid busy patterns, bright distractions, and changing locations. Shooting in the same spot each time gives you a reliable point of comparison.
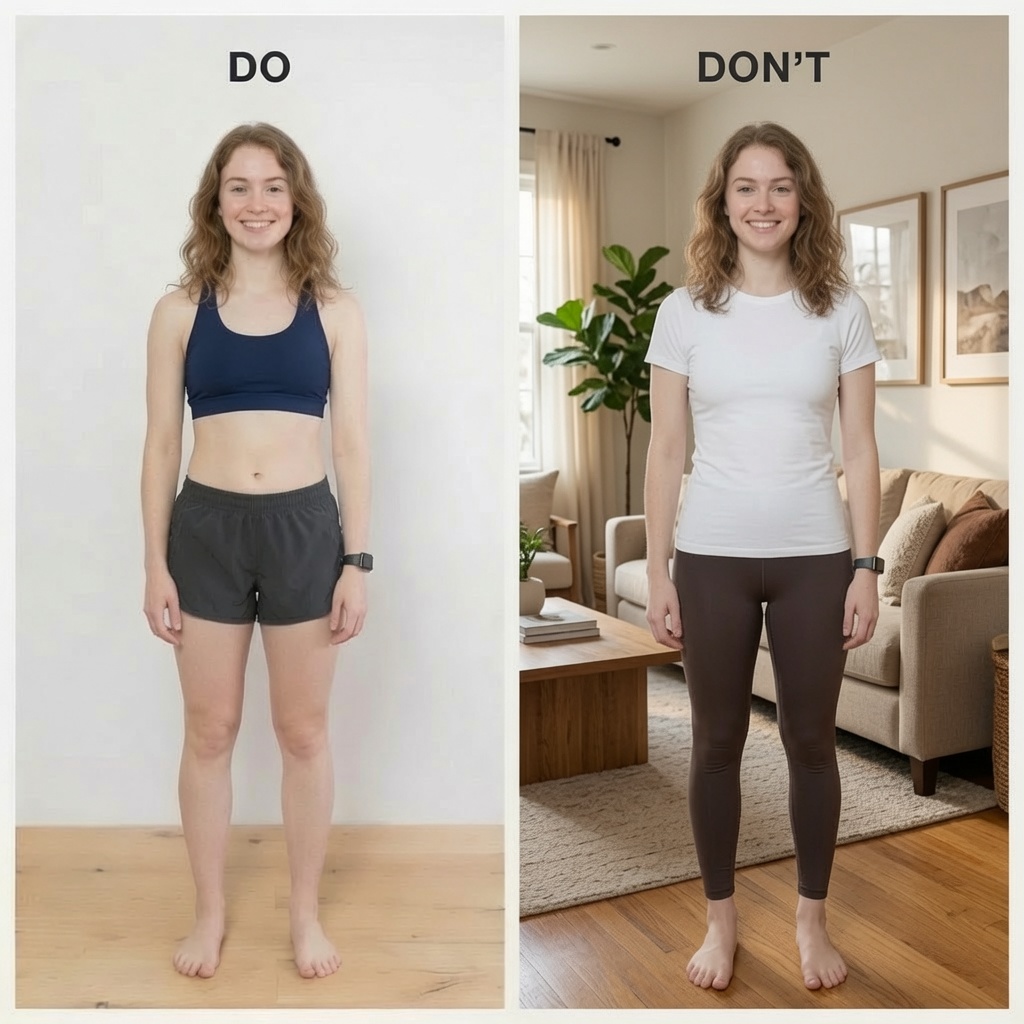
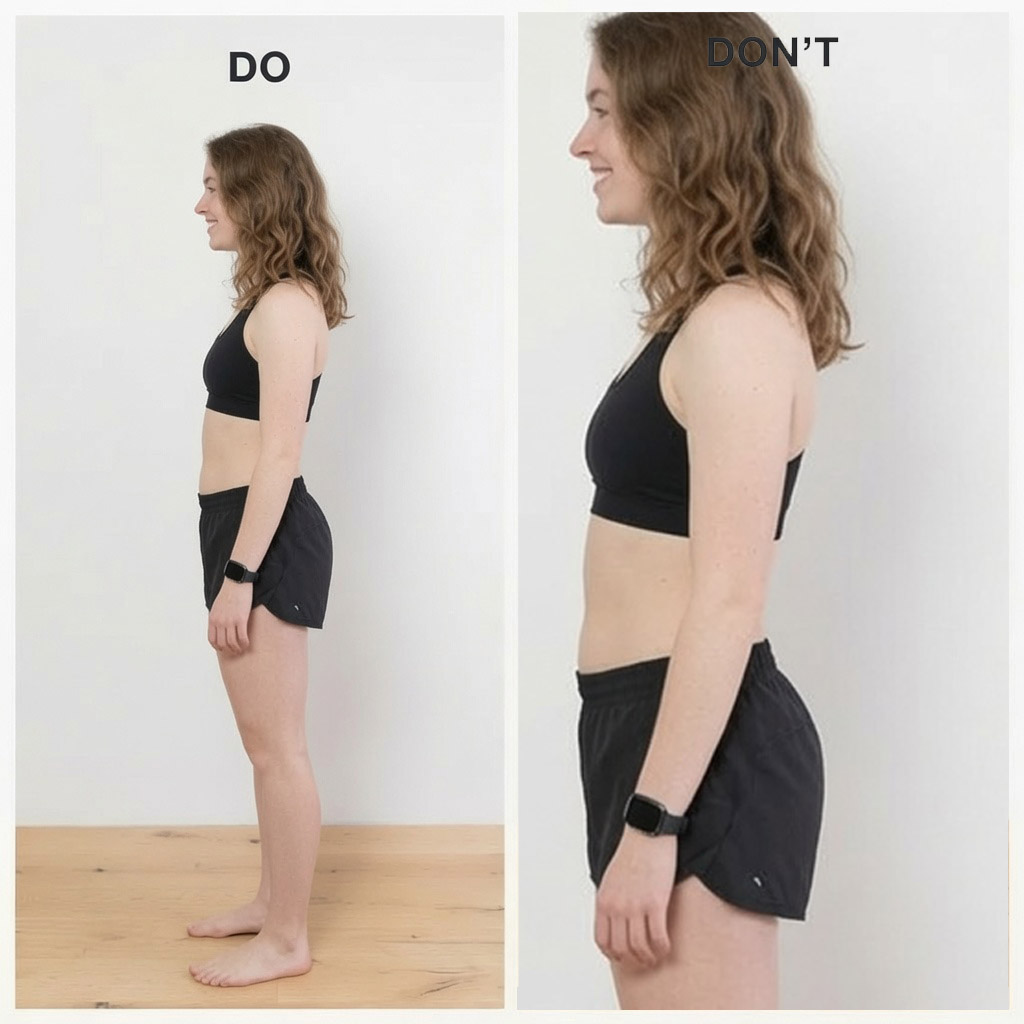
Capture your entire body
Take full-length photos from head to toe at eye level. Skip the angled mirror selfie. A tripod, phone stand, or the self-timer helps you hold the same framing and distance every time.
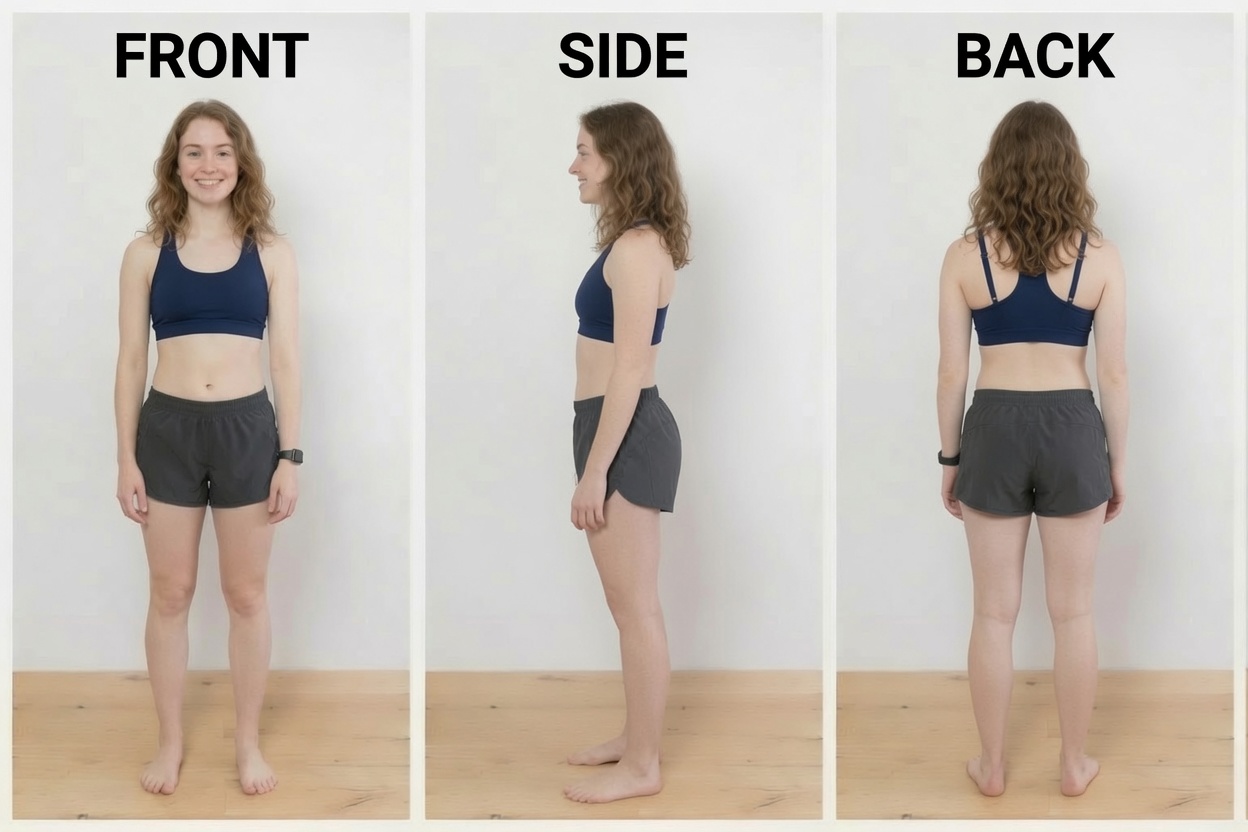
Photograph multiple angles
Shoot from the front, side, and back. Each angle reveals different changes and gives you a fuller picture of your transformation. Use the same side profile each time for consistency.
Use good lighting
Natural daylight is ideal — it's even and realistic. If daylight isn't available, choose a bright, well-lit room and keep the same lighting setup every session.
Stand naturally
Stand upright with relaxed shoulders and your arms resting naturally at your sides. Use the same pose each time so differences in posture don't get mistaken for changes in your body.
Take photos regularly
Monthly works well for most people. Taking photos every four weeks, on roughly the same date, gives enough time for meaningful changes to show.
Final thoughts
A little extra effort on clear, consistent photos pays off. Over time they become a valuable record of your hard work. The scale gives you one number — your photos tell the bigger story, helping you see your progress, stay motivated, and keep moving toward your goals.
Track the rest with Calorie Buddy
Snap a photo of any meal for instant calories and macros — and log your weight and progress alongside it.
Download on the App Store